You can set your Mac to display a screen saver, either manually or automatically after a period of inactivity.
Choose a screen saver
Your Mac comes with several screen savers that display photos, messages, artwork from your Apple Music library or photo library, and more.
- From the Apple menu, choose System Preferences, then click Desktop & Screen Saver.
- Click the Screen Saver tab. Screen savers appear on left side of the window, and a preview of the selected screen saver appears on the right.
- Click a screen saver to select it. To see a full-screen preview, move your pointer over the preview, then click the Preview button that appears within.

To create a slideshow screen saver, select one of the slideshow options on the left, such as Floating, Reflections, Origami, or Shifting Tiles. Then use the Source pop-up menu to choose your own photos or one of the built-in slideshow collections.
Choose when and how to start the screen saver
Use the “Start after” pop-up menu to choose how long your Mac needs to be inactive before the screen saver starts. If you don’t want a screen saver to start, choose Never.

The Hot Corners button gives you options to start or stop the screen saver or put your display to sleep by moving your pointer to one of the corners of the screen. Choose an option from the pop-up menu that corresponds to a specific corner.

Require a password after the screen saver begins
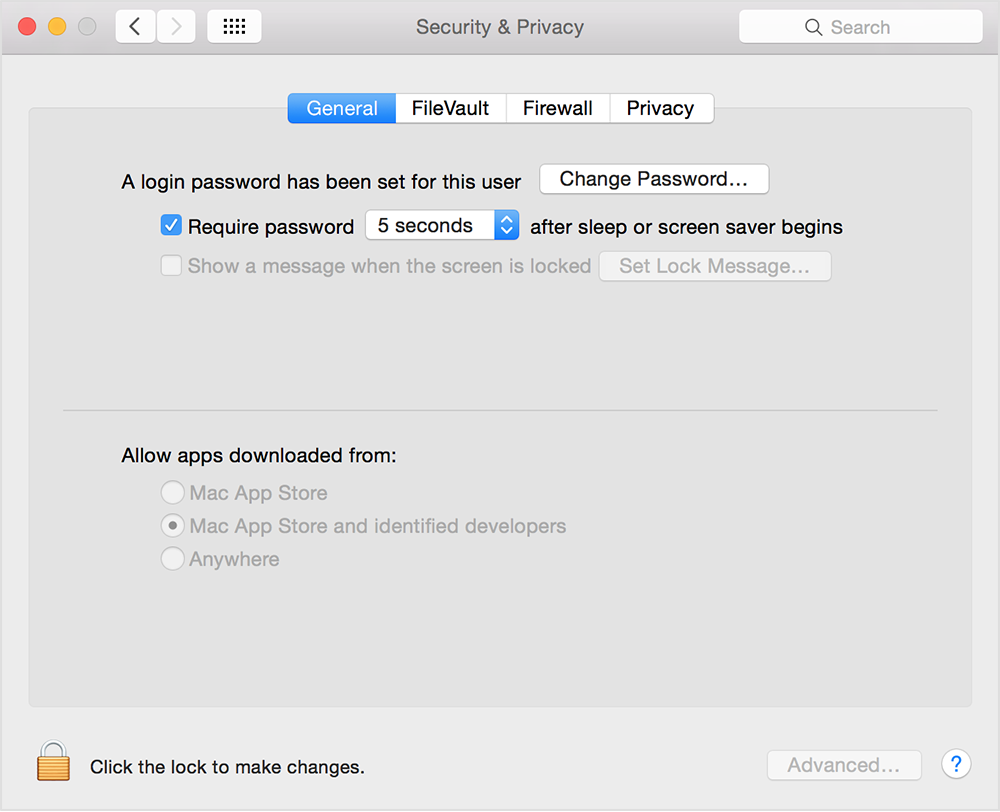
You can set your Mac to require your login password to unlock the screen after the screen saver starts:
- Choose System Preferences from the Apple menu, then click Security & Privacy.
- Click the General tab.
- Select the option to require password after sleep or screen saver begins.


Comments
0 comments
Article is closed for comments.