
NOTE: College staff with a Windows computer do not need to complete these steps. This is performed automatically by the College configuration.
Setting up an Authenticated Wireless network for Windows 10
- From the desktop, right-click on the wireless icon on the bottom right corner of your desktop. Select Open Network and Sharing Center.

- In the Network and Sharing Center, select Setup a new connection or network.

- Select Manually connect to a new network.

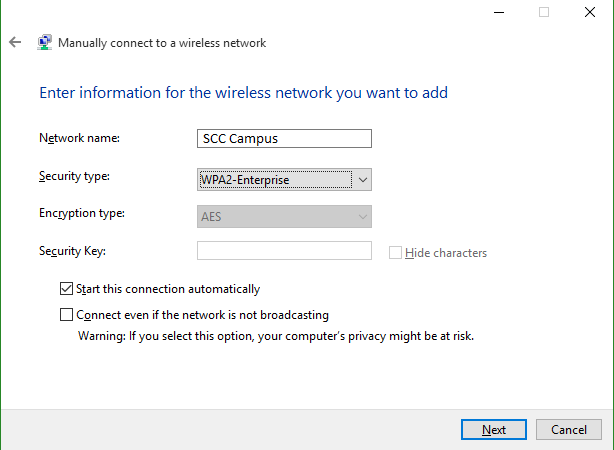
- Enter the information for the SCC Campus wireless network as shown below and click Next.
- Network Name: SCC Campus
- Security Type: WPA2-Enterprise
- Encryption Type: AES
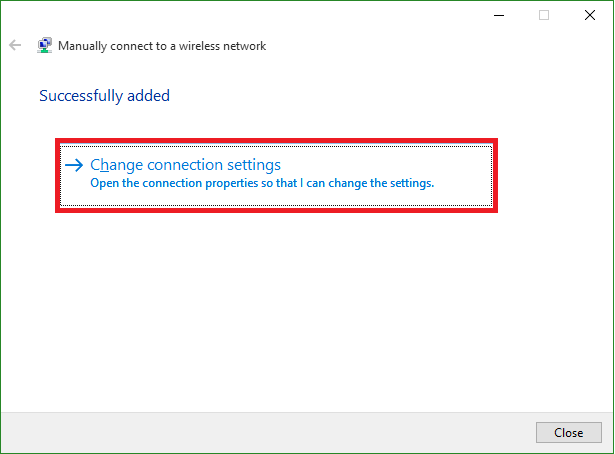
- Click the Change connection settings box.
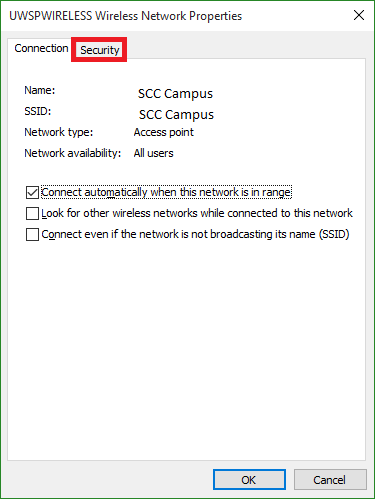
- Click on the Security Tab on the top of the window.
- Change the Choose a network authentication method to be Microsoft: Protected EAP (PEAP) and choose Settings.

- Uncheck the Validate server certificate box and click Configure

- Uncheck the Automatically use my Windows logon name and password (and domain if any) box, and click OK.

- Click OK again.
- Click the Advanced Settings button.

- On the 802.1x settings tab check the Specify authentication mode and set the mode to User Authentication.

- Click OK and Close the settings window.
- Left click on the wireless symbol on the bottom right hand corner to bring up the Networks menu.
- Select and connect to SCC Campus
- A prompt should appear to sign in. Type your St Cuthbert's username and your password.
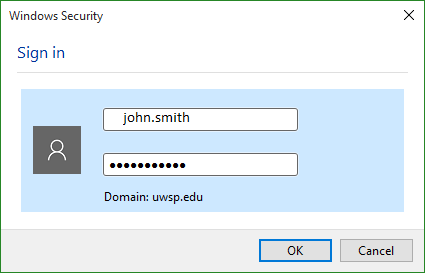
You should now be connected to the SCC Campus network.
Comments
0 comments
Please sign in to leave a comment.